

Not only was it easy to put together, the kids loved it. So far it's mainly filled with things they could see at the moment, but we have lots of circles to fill up as the month goes on.
Here's how to make your own:
9- 4 inch craft card stock circles
9- 3 inch orange card stock circles
19- 1 1/2 inch craft card stock circles
19- 1 1/2 inch orange card stock circles
letter stamps and ink
sewing machine and thread
scissors
1. After you have your card stock circles ready, arrange them a pattern you like. I used this pattern:
small craft
small orange
large craft
medium orange
repeat...
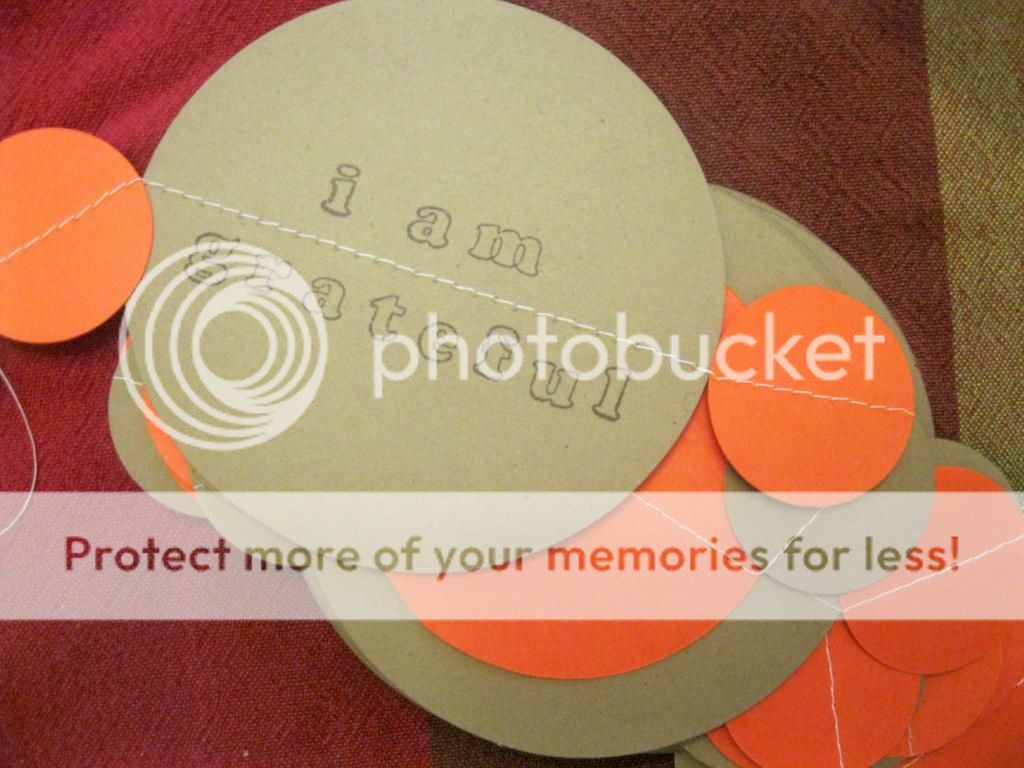
 2. Set your sewing machine to the largest stitch length. Feed your circles under the presser foot, stitching down the center of each circle. Leave extra thread at the beginning and end to knot {no need to back-stitch}. Keep sewing until all your circles are attached.
3. Stamp circles with "i am grateful" {or any other message you prefer}. I only stamped the largest, craft card stock circles.
4. Hang where everyone can reach & fill in circles as they remember what they are thankful for.

No comments:
Post a Comment