Showing posts with label christmas. Show all posts

12.04.2014

Throw Back Thursday {Christmas Time Is Here}

Here are two holiday favorites from back in 2011 {& my previous blog}.  Our family loves to make snowflakes every year.  This tutorial uses tracing paper, which works great, but the past 2 years we have been using coffee filters (I like to iron mine first) which are a little more durable.  

The Christmas book countdown we still love to do.  It's so nice to gather as a family each night for this fun tradition...although the first night my 3 year old thought he was opening an actual present & exclaimed (not so happily) "ohhhhhh! I wanted a race track!".  After some explaining he was happy to join in & has looked forward to opening a "present" the last few nights.

Merry Christmas & Enjoy!
***********

The Perfect Snowflake
I like to use 9 x 12 in. tracing paper to make my snowflakes...it is inexpensive, looks great, and is easy to cut through many layers at once...

I made 4 different sizes...whole page (about 9 in. square); half page (about 6 in. square); quarter page (about 4 1/2 in. square); and the smallest out of scraps (about 3 in. square). 

****

Christmas Countdown

This is my kids' favorite countdown...and it is so easy (if you are willing to spend some more time wrapping) :)

Gather together Christmas, Holiday, Winter, or any other appropriate book for the season...you will need 1 for everyday you count down (we started on the 1st...so 24 for us). We add a Christmas book or two every year, and I make up for the ones we don't have by printing off Christmas stories or poems I find online...Wrap and number each book.
Each night before bed we find the appropriate numbered book and open it...we take turns, luckily 24 is evenly divisible by 3 :) and read the story together. It is a great way to spend a little extra time together and feel the spirit of the season a little more each day.

Have a great Holiday Season!

p.s. I found my stories online here...
The Church of Jesus Christ of Latter Day Saints :)


12.18.2012

Giving Handmade

This week I am spending finishing up handmade presents for the kids...while they are still in school {and therefore can actually accomplish something...in secret}.  Every year I make something handmade...past years have included quilts,  hand puppets, a rag doll,  a caddy for books to hang on the bunk bed & the list goes on and on.  I almost always wait to long to get started, but I love this tradition.  how much thought, preparation and work goes into each gift.  And that my kids still appreciate it...we are getting nearer to those teenage years after all {12 year old boys are almost impossible to craft for, by the way}

For my youngest I am working on a jungle themed quiet book {he's almost 1 1/2}
...more posts on this later, but here is a hint of what is going to be like, super simple & all felt

My 2nd son {7 yrs} is getting a fort kit, similar to this one .  I love, LOVE that almost everything that I am using I had on hand to reuse or recycle. {a post coming up on this too}

Now, the older two {son, 12 and daughter, 10} are a little more difficult...we'll have to see just exactly what I come up with for them.  I have a few ideas floating around :)

Are you making gifts this year?  If not {and you can somehow find the time this last week before Christmas} give it a try--everyone loves handmade :)

11.28.2012

Wreath Christmas Ornaments {pinned there, done that}


This week the kids and I tried out this pin.  It was easy enough, my 10 year old and 7 year old had no problem making their own wreath to add to our tree.  I would only change one thing...the instructions call for hot glue.  You don't need it.  I didn't use any at all, here's what I did....
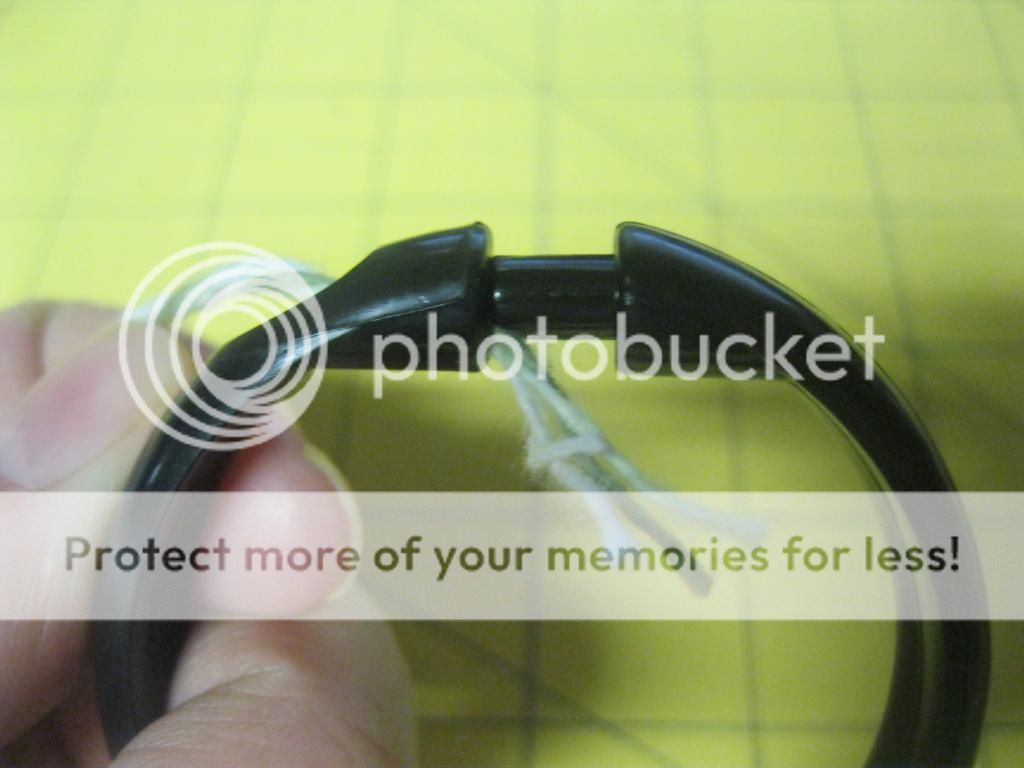
To start the wreath thread your yarn through the hole near the shower curtain ring clasp, then squeeze it closed.  It keeps the yarn secure & you can start wrapping your wreath.

For the two color wreaths, I wrapped the entire wreath once, then when I neared the top of the wreath, I cut a length of the contrasting yarn, laid the end along the ring (perpendicular to the wrapped yarn) and wrapped over it with the base color.  When I wanted a stripe of the second color, I would switch the yarn, and start wrapping over top of the base color...then switched back when needed.  It takes a little practice, but once you get the hang of it, it goes really quickly.  Have fun!


you can follow me on pintrest here.