Showing posts with label craft. Show all posts

6.19.2014

Popsicle Stick Bracelets

{This is a re-post from my 'old' blog...With the kids home from summer, I've been thinking a lot of ways we can spend time together that are fun, inexpensive and don't require technology.  Back in 2012, my daughter and I had fun making these bracelets, and she still has them.  This would be a great rainy day or way-too-hot day activity.  Enjoy!}
***
H and I had a great time making these bracelets together.  These are the perfect size for her {she's going on 10}, and if I can find some craft sticks big enough, I'll be making some for me too :)


I've seen some tutorials around to make these using a drinking glass to mold them.  Honestly, it didn't work out so great for me.  One, I don't have drinking glasses that small, or that have straight sides.  Two, I had a problem with them not staying put & popping out.  I really wanted to make these with H, so I set out to find the best way & after a couple attempts, here is what I came up with:


Supplies:

*Wooden craft sticks (we used 6 x 3/4 inch)
*Saucepan & water
*rolling pin
*zip ties that are a few inches longer than your craft sticks
*Strips of paper cut just slightly longer & wider than your craft sticks {it's always easier to cut away excess, then try to line up perfectly}
*Decoupage glue {such as ModPodge}
*Scissors


1. Place your craft sticks in a large sauce pan, cover generously with water.  Bring to a boil over high heat and boil for at least 15-20 minutes {the longer you boil, the softer the sticks become}
Drain, and allow to cool slightly {they cool off rather fast}.


2. I used a rolling pin to mold the initial curve, by wrapping the craft sticks around then letting them go...just made it a little easier to bend them in the next step.
3. Loop around a zip tie & secure on the first notch (biggest loop) possible.  Mold your craft stick into the zip tie, try to overlap the ends just slightly so that the ends curl around too.  Tighten the zip tie.  You want to mold these on the small size.  They will expand when you un-mold & decorate them.


4. Allow to dry over night-24 hours...make sure the are good and dry.


5. Un-mold and decorate.  It's best to follow the directions on your decoupage glue, but here's how I do it: brush a thin layer onto the craft stick; adhere paper, then trim excess; add multiple layers of glue on top using a brush, allowing to dry in-between each; sand lightly if necessary.

**if the bracelets expand a little too much after decoupaging, just slide them back into the zip tie {carefully!} after they are dry to the touch and leave for a few minutes, it doesn't take long to get them back into shape.**
You don't have to stop there, try decorating them other ways :) Instead of decoupage try wrapping with thin ribbon, yarn or string.  Glue all sorts of rhinestones and gems on...or simply color with markers (just don't use washable).  Have fun creating!


5.01.2014

Quiet Book, Page 3 {hidden flowers}

This is long, long overdue, but here is page three of my felt quiet book that I made for my now 2 1/2 year old.   Ollie still loves it & plays with it often.  Remember pages one & two?  This one is just as easy, but a has a little more detail work. This page will focus on counting & colors for the "older" kids and a is fun peak-a-boo game for toddlers.


You will need:

1- 8.5 x 11 inch rectangle of felt {for the background, I used gray}
green felt
colorful felt scraps for flowers
embroidery floss
sewing machine & colorful thread

1. Cut out 3 bushes and 3 tufts of grass out of green felt.  Either free hand the design, or make a simple pattern out of paper before you cut your felt {see pictures for ideas}.

2. Arrange your bushes and tufts of grass on the background felt rectangle.  Pin in place.

3.  Using your sewing machine, stitch each on.  Be sure to leave the bushes free at the top so that they can fold down to reveal the flowers.  I stitched all the way across the page twice along the bottom of each bush.  Then across the page and along the bottom of each tuft of grass and then again across the page and along the tops of the tufts of grass {see pictures for details}.  Be sure that you stitch UNDER the bushes so that they remain free.
4. Next cut out your flowers from the scraps of colorful felt.  I just cut out circles and notched them to look like petals. You will need 6 flowers. {flower centers are attached later on}

5.  Arrange the flowers; 1 behind the top bush, 2 behind the middle, 3 behind the bottom bush.  Pin in place.  Using a fabric marker, mark where you would like the stems and leaves stitched (or just free hand).  Using the machine stitch the flower stem and leaves, then stitch on the flower.  Repeat with  the remaining flowers.  I stitched them on by just sewing across them a few times, or around them in a decorative way.  You can do this however you like, or even hand stitch them on if you prefer.

6. Attach any flower centers with a few french knots, repeat with the remaining flowers. Now you're ready to add this page to your quiet book...more on that later.

Page 5: Tropical Fish {coming soon}
Page 6: Coconut Trees {coming soon}


11.28.2012

Wreath Christmas Ornaments {pinned there, done that}


This week the kids and I tried out this pin.  It was easy enough, my 10 year old and 7 year old had no problem making their own wreath to add to our tree.  I would only change one thing...the instructions call for hot glue.  You don't need it.  I didn't use any at all, here's what I did....
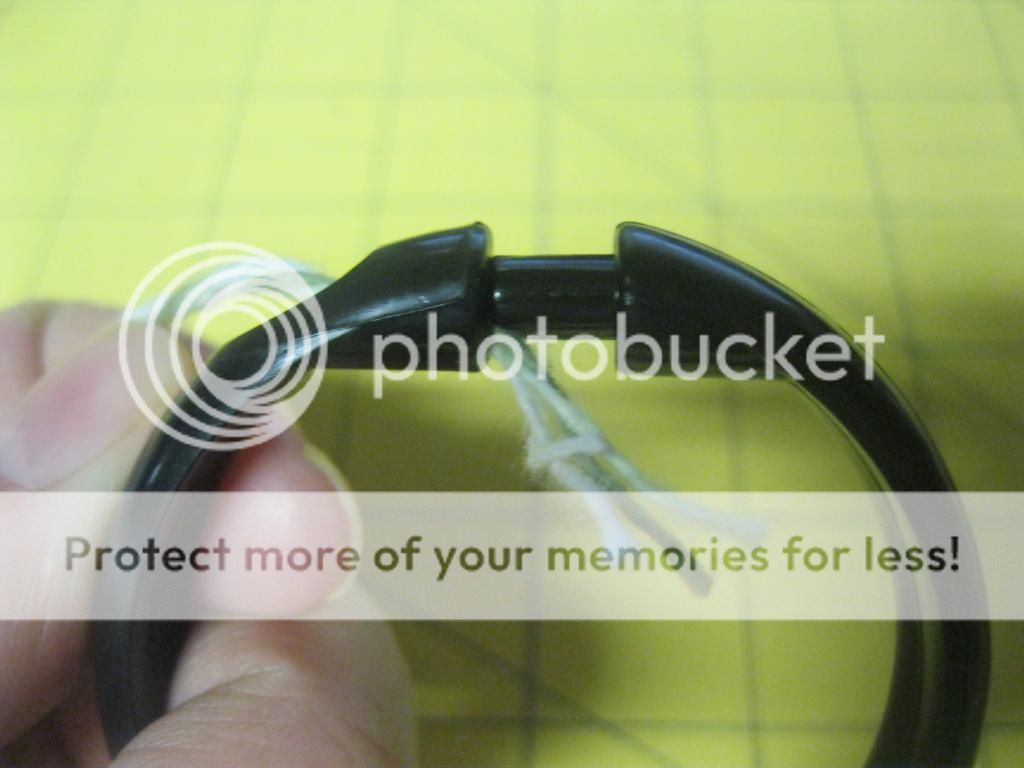
To start the wreath thread your yarn through the hole near the shower curtain ring clasp, then squeeze it closed.  It keeps the yarn secure & you can start wrapping your wreath.

For the two color wreaths, I wrapped the entire wreath once, then when I neared the top of the wreath, I cut a length of the contrasting yarn, laid the end along the ring (perpendicular to the wrapped yarn) and wrapped over it with the base color.  When I wanted a stripe of the second color, I would switch the yarn, and start wrapping over top of the base color...then switched back when needed.  It takes a little practice, but once you get the hang of it, it goes really quickly.  Have fun!


you can follow me on pintrest here.