Showing posts with label gratitude. Show all posts

11.05.2014

Gratitude Month

Each November our family likes to focus a little more on what we are grateful for (who doesn't?).   I try and set up a fun and special way to allow the kids to express their gratitude.

One year we did a gratitude jar...

another year a garland of all we were thankful for..

We've tied leaves labeled with what we are thankful for onto bare tree branches, created table "cloth" for Thanksgiving dinner, and last year, while hugely pregnant, I just hung up a large sheet of brown paper with "I am Thankful for..." written at the top & the kids wrote or drew pictures of what they were thankful for each day (or multiple times a day).  The ones I love the best are left up all month, the list ever growing, where we can see just how much we have to be thankful for.

This year I decided to take advantage of a large blank wall I have in the living room waiting for something to decorate it. I decided on a large tree branch "growing" out of the wall, to have leaves attached to it & fluttering down around it.  I really love how it turned out, and it was super easy. 

First I laid out a strip of brown paper (the packing & shipping kind).  I did this next to the wall, so that I could eye ball just how big I wanted it.  I then roughly sketched a silhouette of a tree branch with pencil & cut it out.  Don't worry too much about perfection, no tree branch is perfect.


I attached it to the wall using a glue-dot roller.  I've done it before, and it removed easily from my walls, but you might want to test it out first just to be on the safe side :)


I cut out a bunch of simple pointed-oval leaves out of patterned paper for us to write what we are thankful on (I would suggest writing before hanging your leaves....I was just a little impatient to get it up).  We have a pile of extra leaves on our desk ready to be labeled and added throughout the month.  I can't wait to see how it grows as the month goes on.


11.06.2012

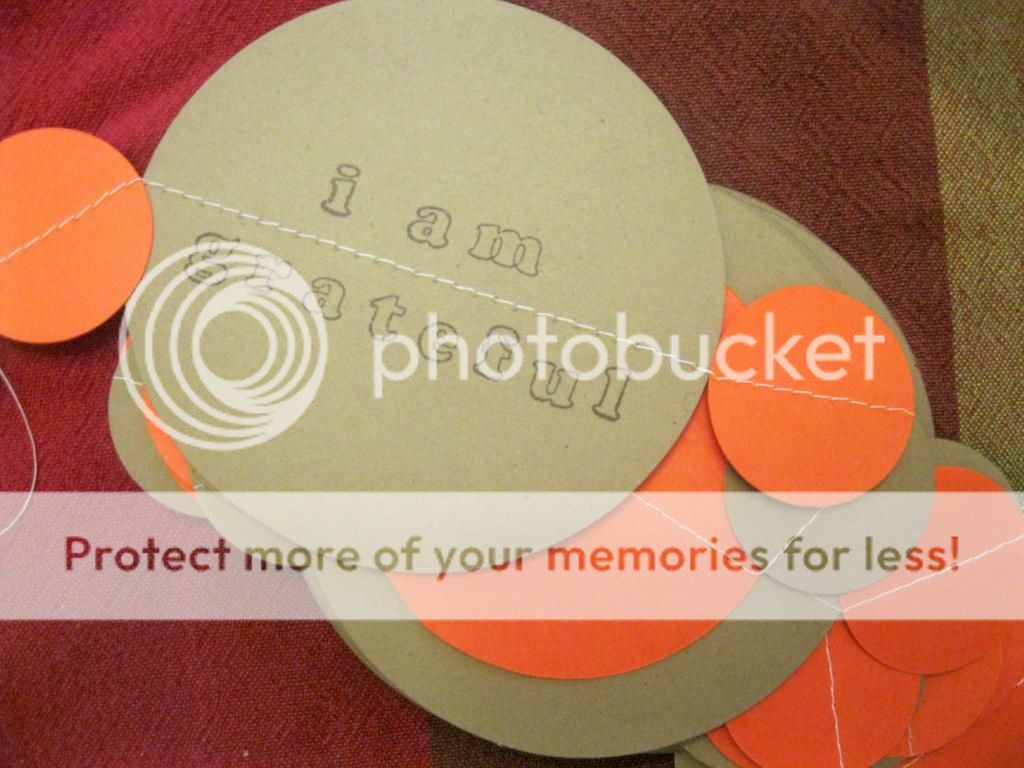
"I am Grateful" Garland

Every year we try to do something to show the kids just how much they have to be grateful for.  We start at the beginning of the month & keep adding to the list every day as we think of more and more things we are grateful for.  The last two years we did this.


This year I decided to make a garland to hang up where the kids could reach & fill in as they wanted.
Not only was it easy to put together, the kids loved it.  So far it's mainly filled with things they could see at the moment, but we have lots of circles to fill up as the month goes on.

Here's how to make your own:
9- 4 inch craft card stock circles
9- 3 inch orange card stock circles
19- 1 1/2 inch craft card stock circles
19- 1 1/2 inch orange card stock circles
letter stamps and ink
sewing machine and thread
scissors
1. After you have your card stock circles ready, arrange them a pattern you like.  I used this pattern:
small craft
small orange
large craft
medium orange
repeat...
2. Set your sewing machine to the largest stitch length.  Feed your circles under the presser foot, stitching down the center of each circle.  Leave extra thread at the beginning and end to knot {no need to back-stitch}. Keep sewing until all your circles are attached.
3.  Stamp circles with "i am grateful" {or any other message you prefer}. I only stamped the largest, craft card stock circles.
4.  Hang where everyone can reach & fill in circles as they remember what they are thankful for.